
To do so, simply append dnrcms.php to the end of your website url. For example, if your website is www.designnrank.com, you would need to go to www.designnrank.com/dnrcms.php in order to login to the administrator panel.
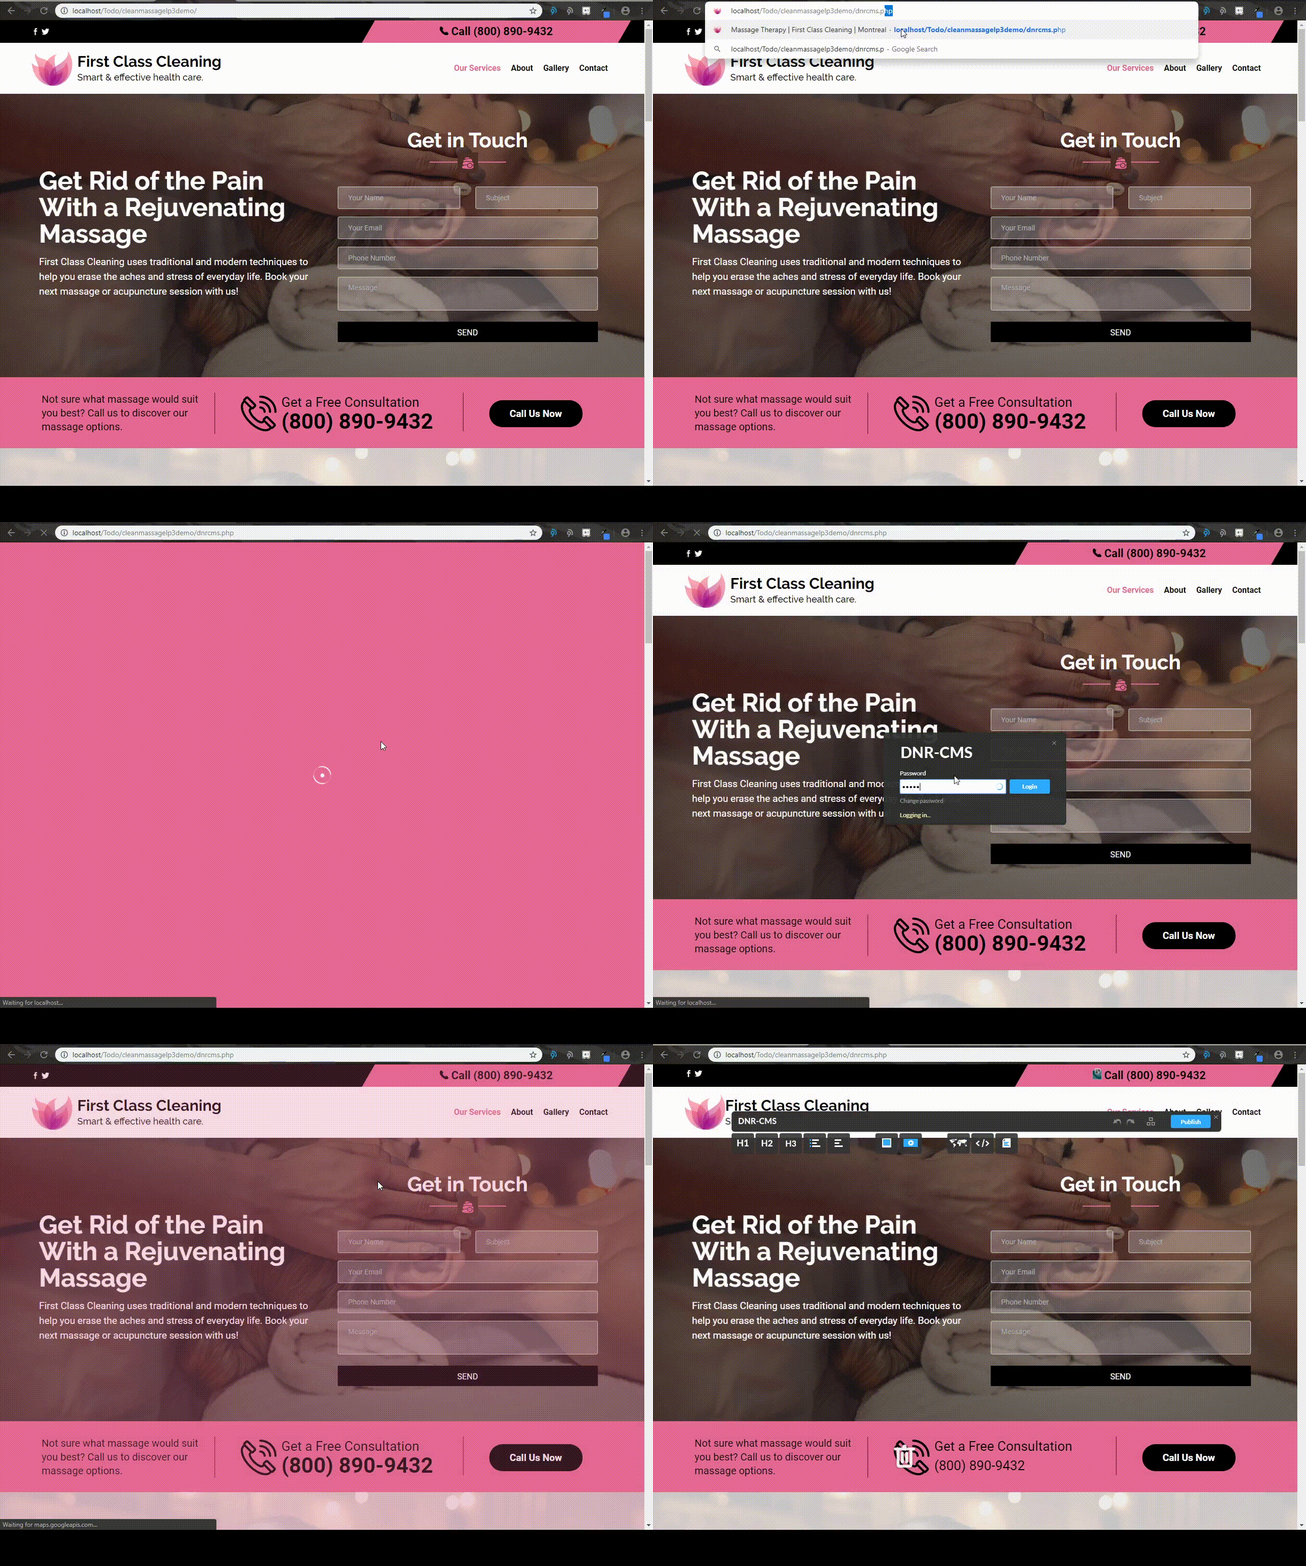
To logout, left click the exit ("x") button at the upper right corner of the DnrCMS panel, or remove dnrcms.php from the end of the website url.

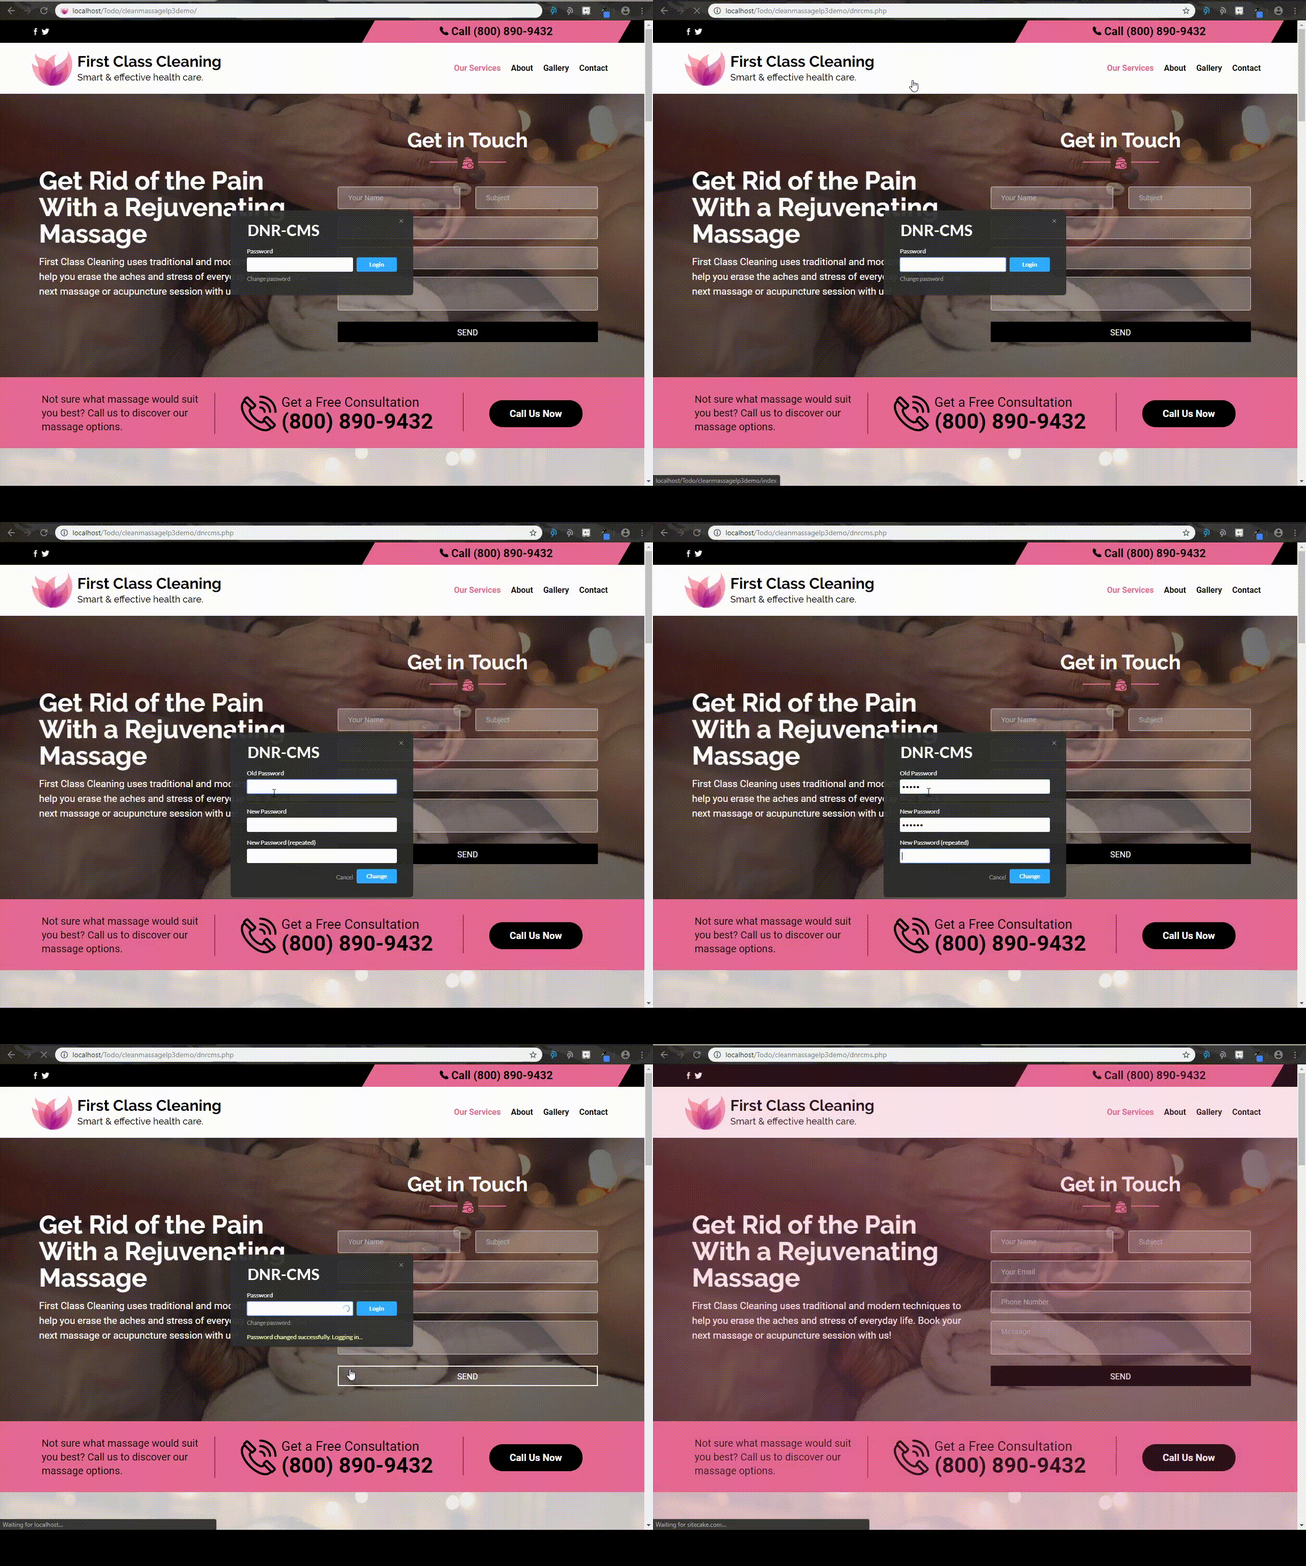
To change the password, append dnrcms.php to your url as we did for the login, and select the "Change Password" option.
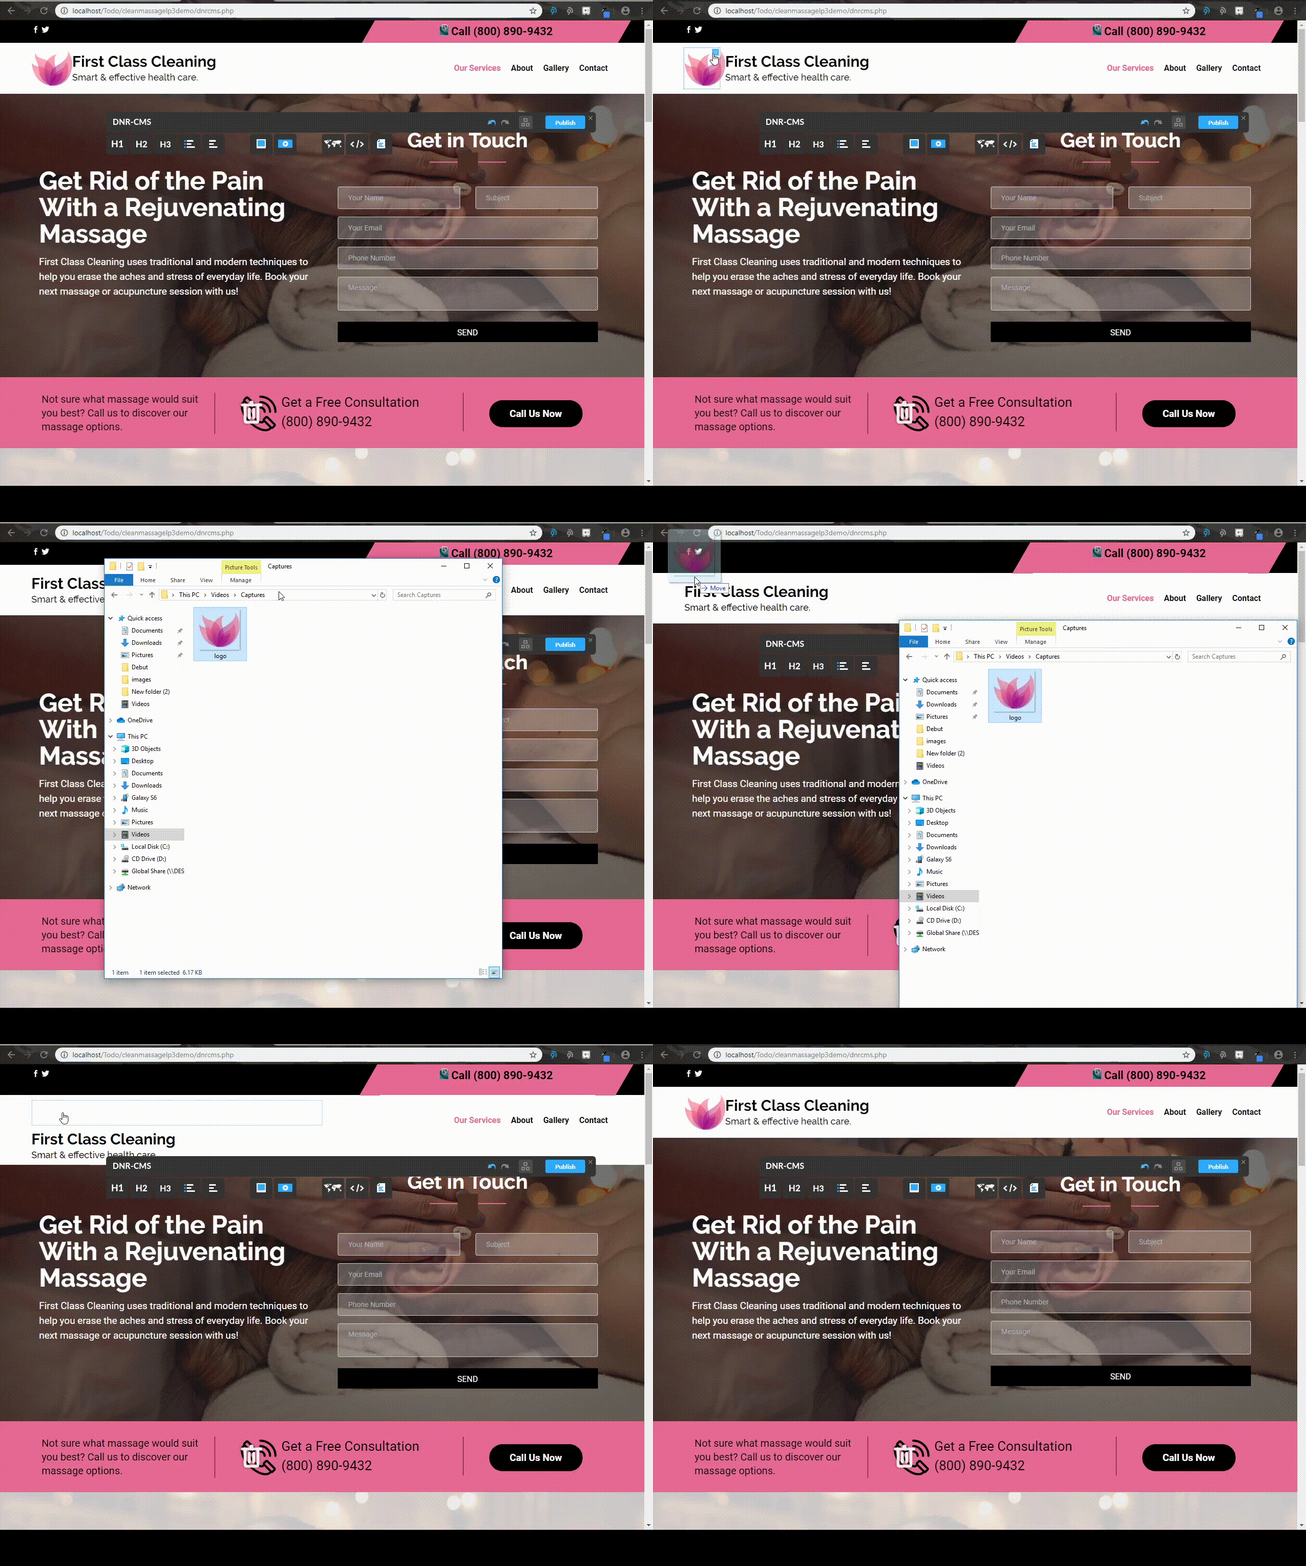
In order to change the logo, you must first delete the current one with the "X" button located at the top right of the image when hovering over it. Then drag your desired logo above the company title as shown in the video below. You can resize it if needed by selecting the image and dragging one of the four squares situated on each corner.
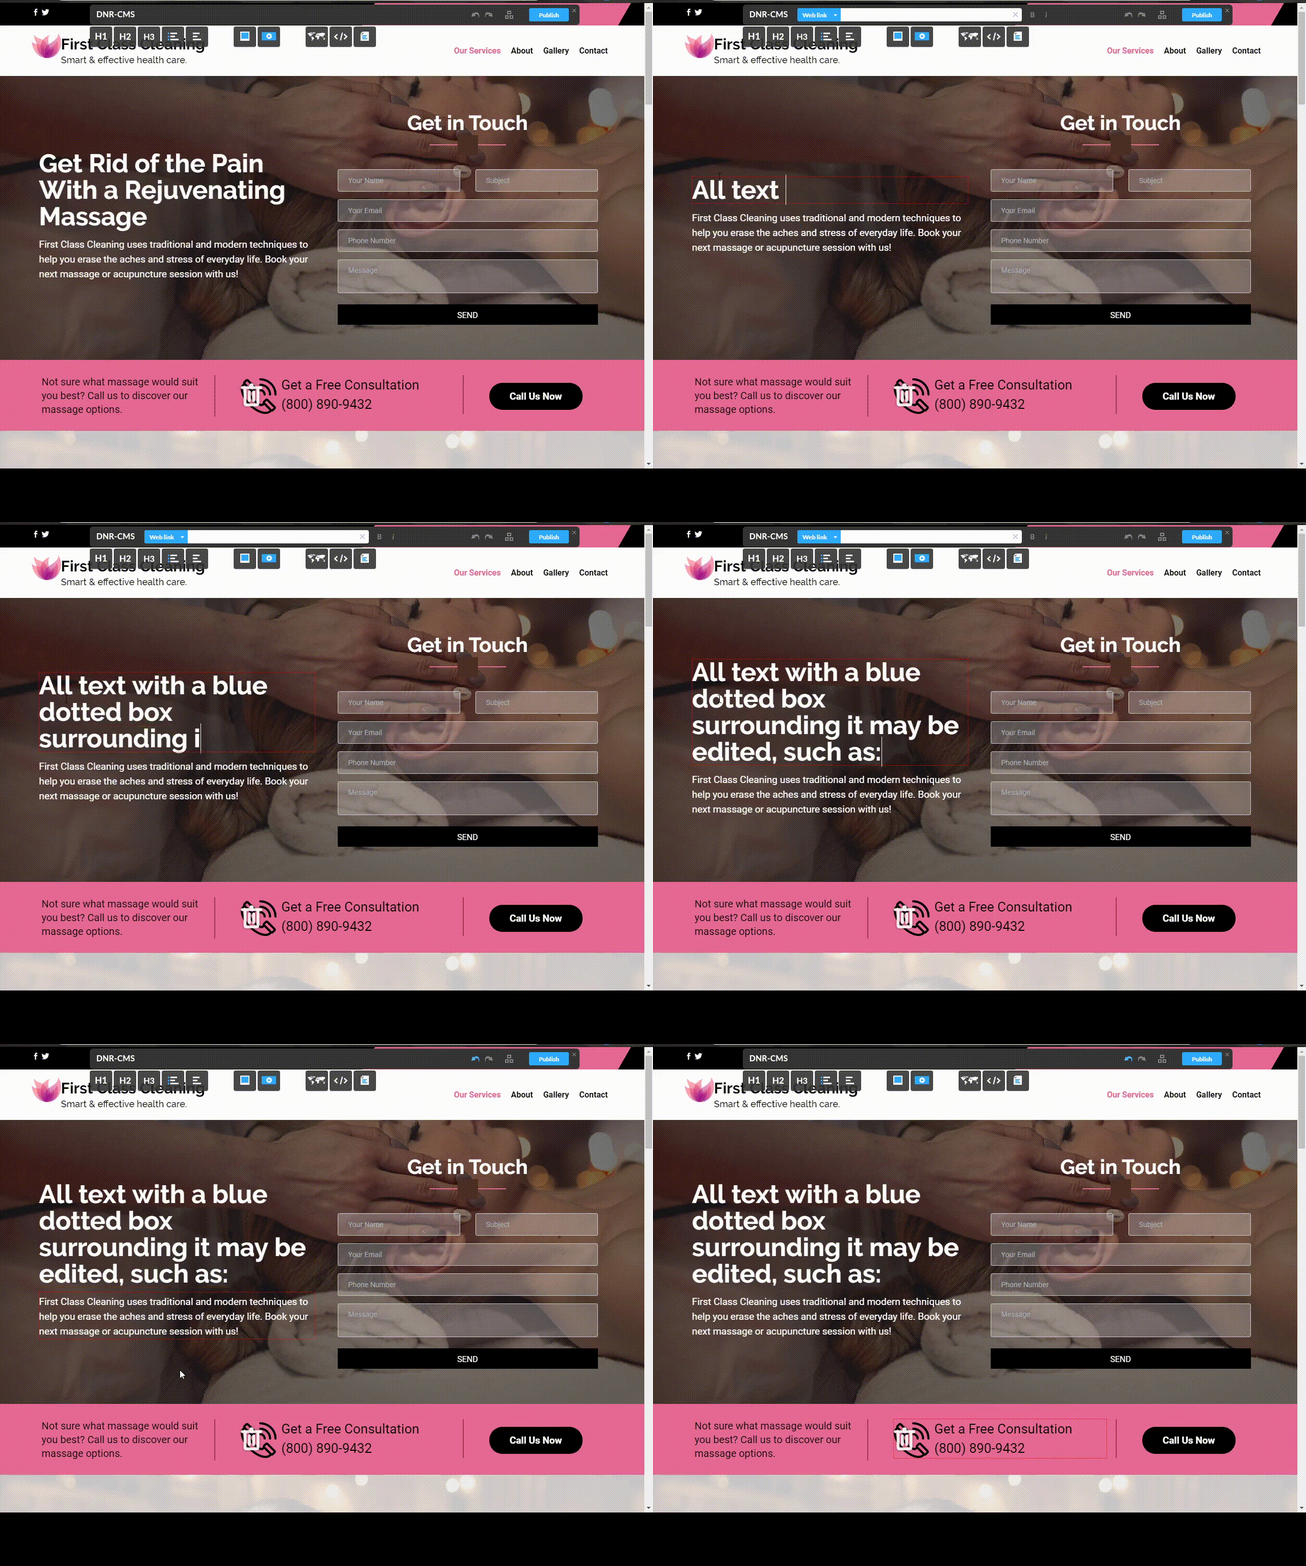
To edit the title or the slogan, left click inside the blue box that will appear upon hovering your mouse over the title or slogan, and you will enter edit mode where you can then make changes to the text. Once satisfied with your changes, left click anywhere outside the textbox area to exit edit mode.
Note that this won't directly publish changes to your website. In order to publish all modifications to your website, visit the Publishing Modifications section below.

First of all, to verify if a textbox is editable, simply hover your mouse over the text you would like to edit and if a blue box appears around the textbox, this means that the text can be edited. To edit said text, left click inside the blue box and you will enter edit mode. Finally, to exit edit mode, left click anywhere outside the textbox area.
Note that this won't directly publish changes to your website. In order to publish all modifications to your website, visit the Publishing Modifications section below.
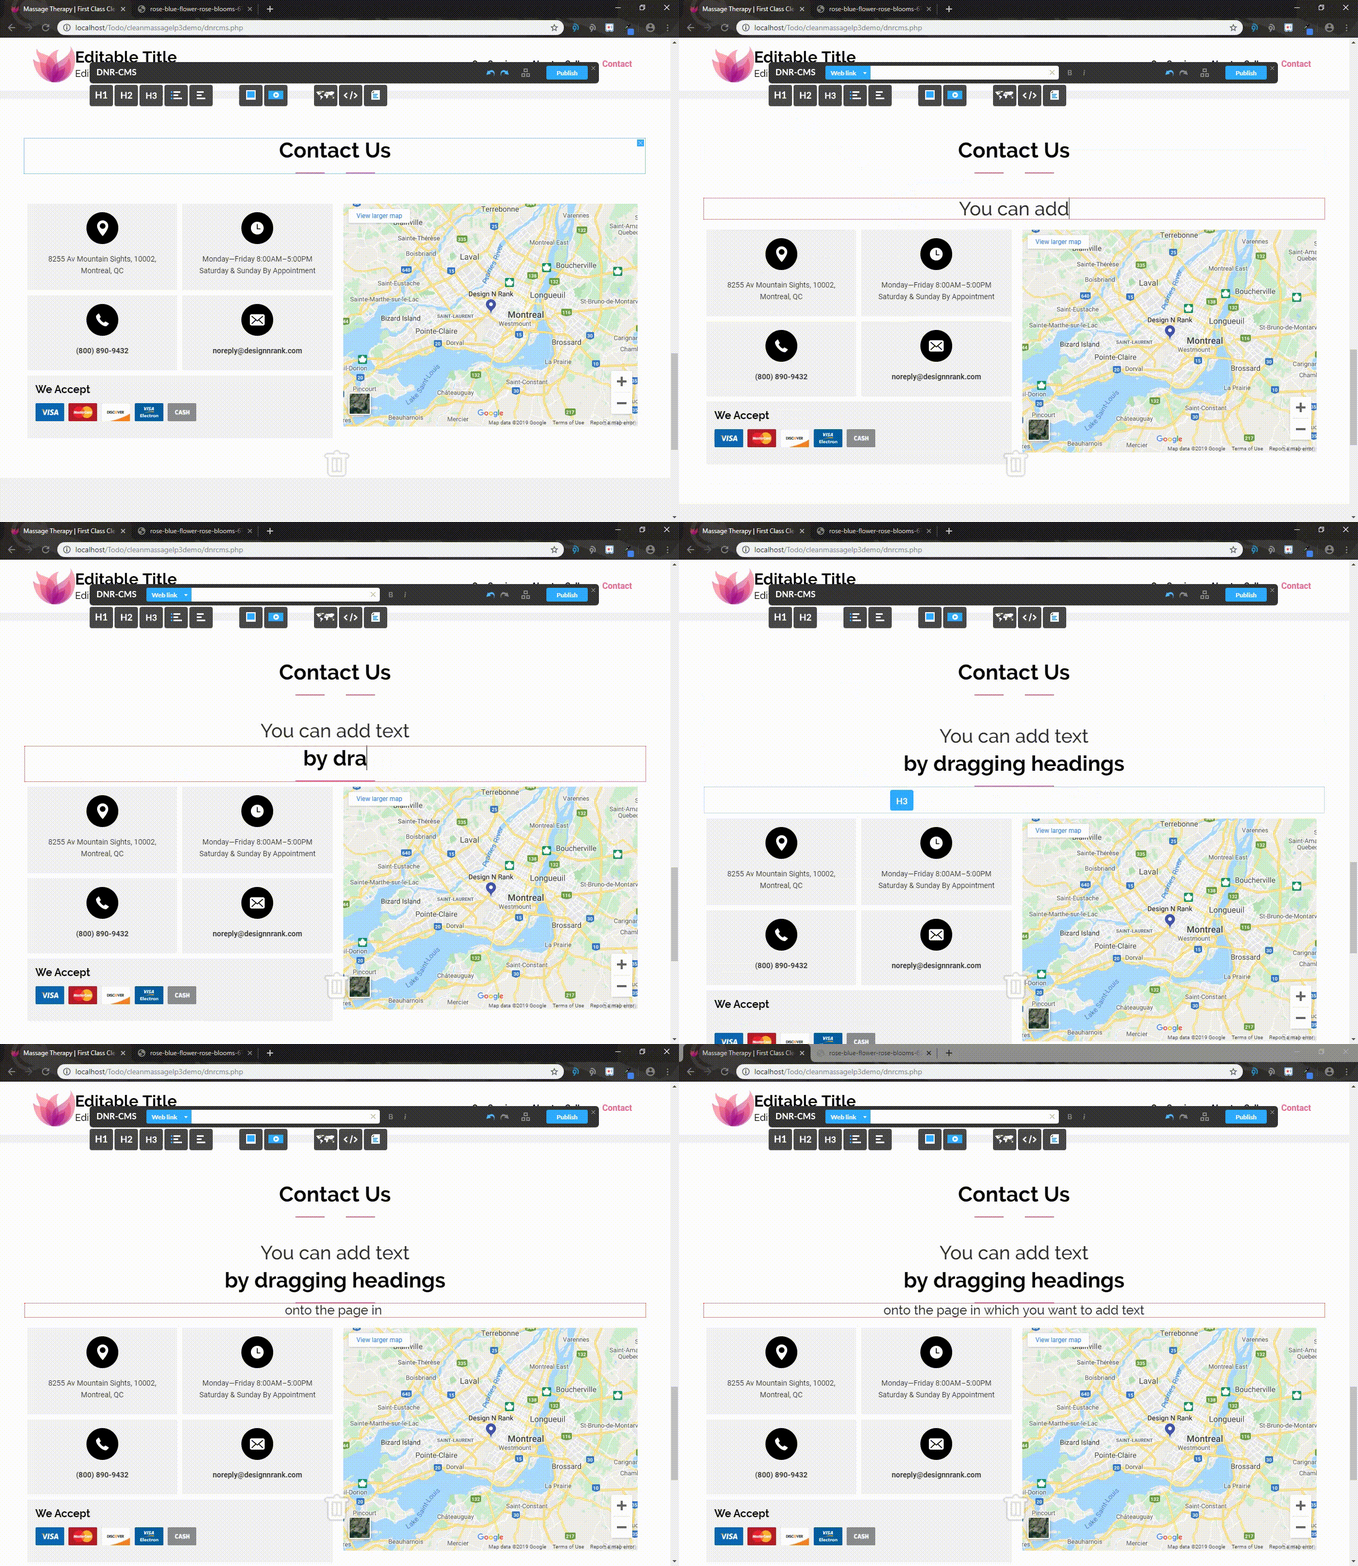
In order to add text, drag one of the options from the DnRCMS onto the page in the area you would like.
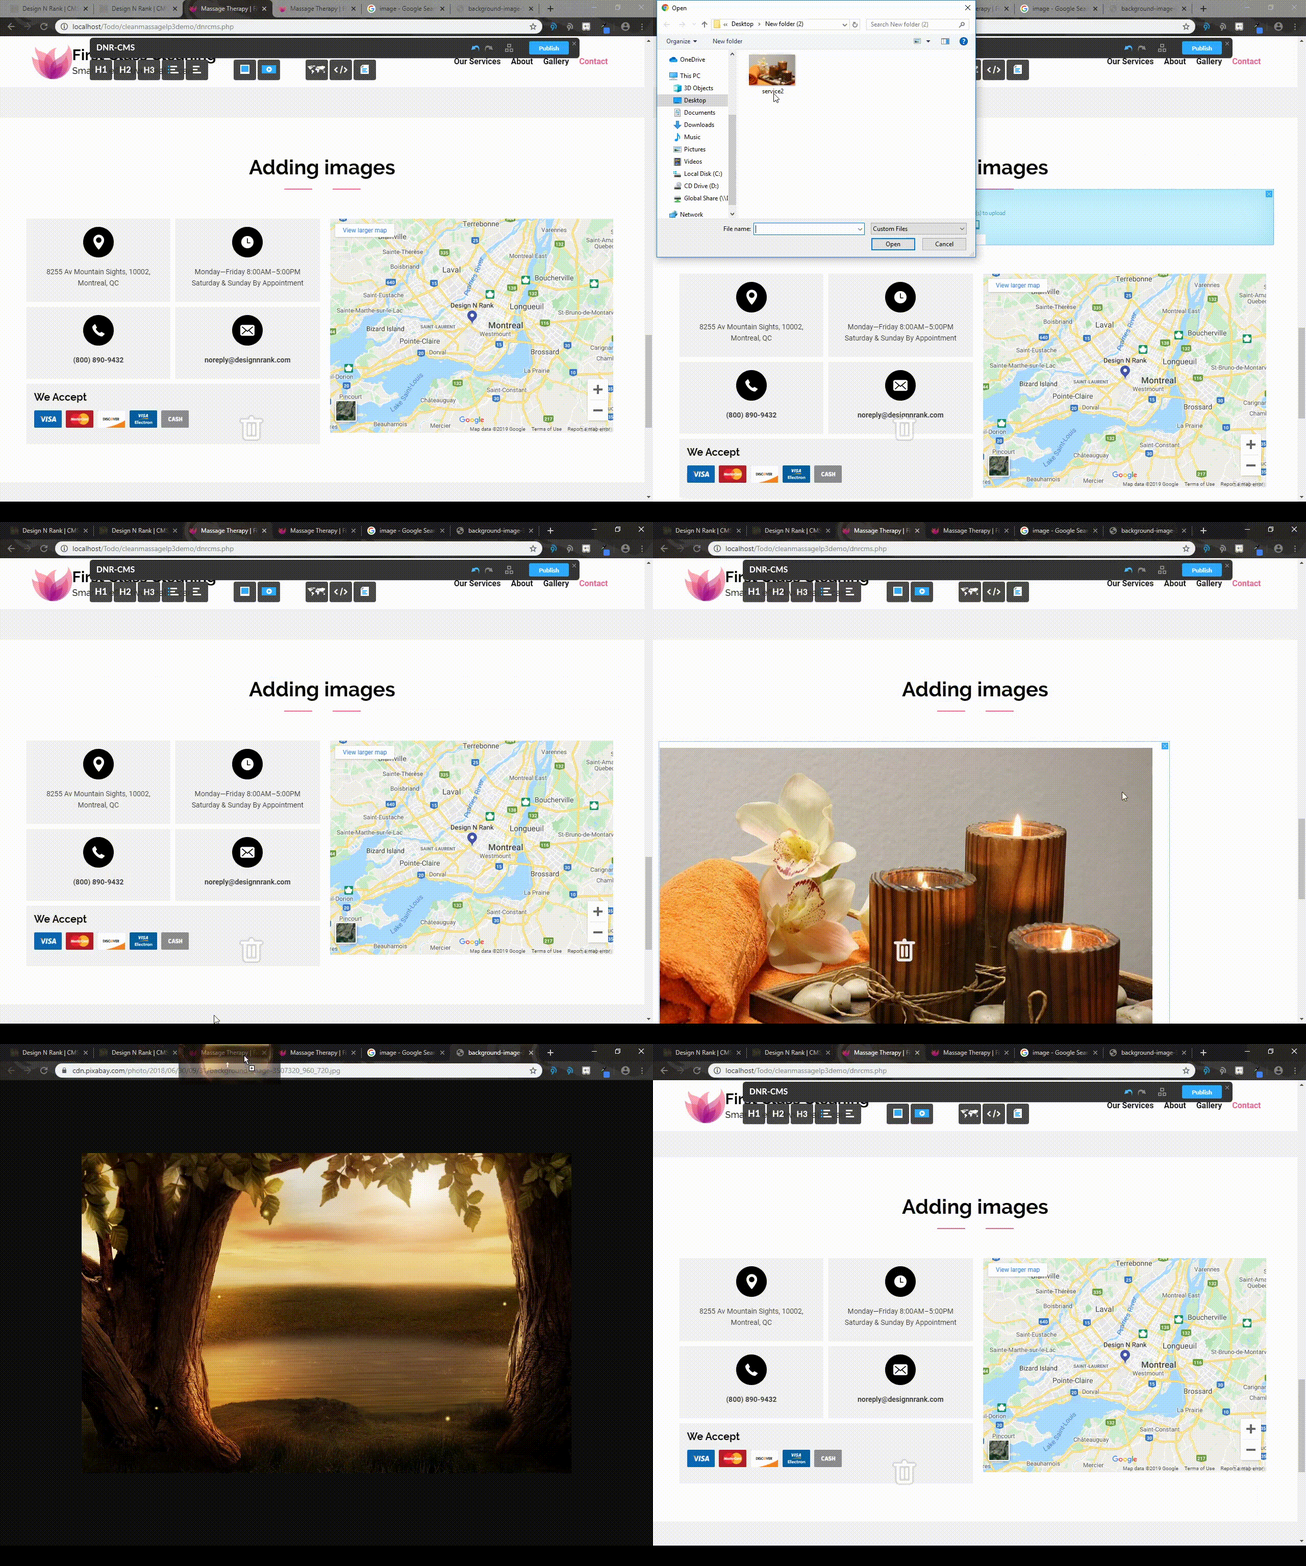
There are three ways in which you can add an image to your websites (All shown in the demonstration below)
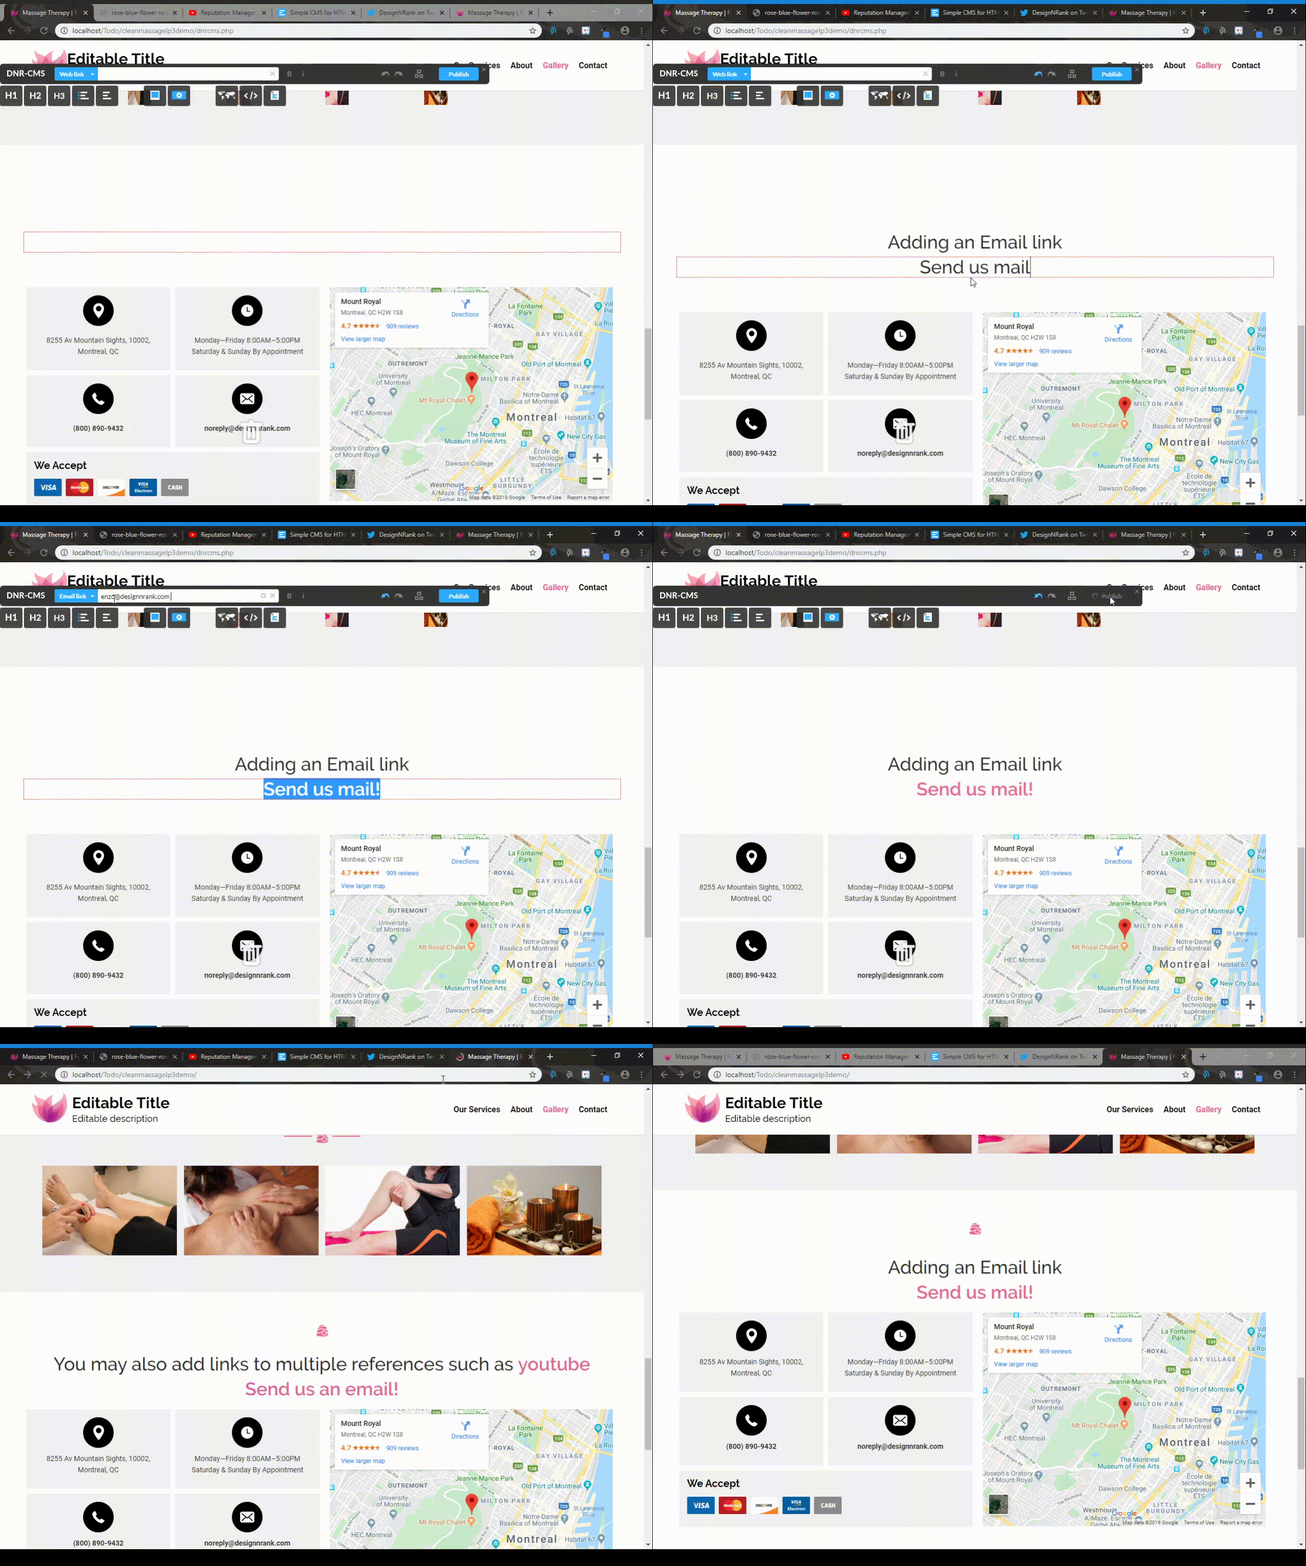
To add a hyperlink, simply highlight the text which you want to turn into a link and copy paste the URL of the link you desire in the Web link section of the DnRCMS interface as shown below.
Note: This can also be done with images! Simply select an image, and set the Web link!

To add an E-mail link, simply highlight the text which you want to turn into a link and enter the E-mail you desire in the Email link section of the DnRCMS interface as shown below.
Note: This can also be done with images! Simply select an image, and set the E-mail link!
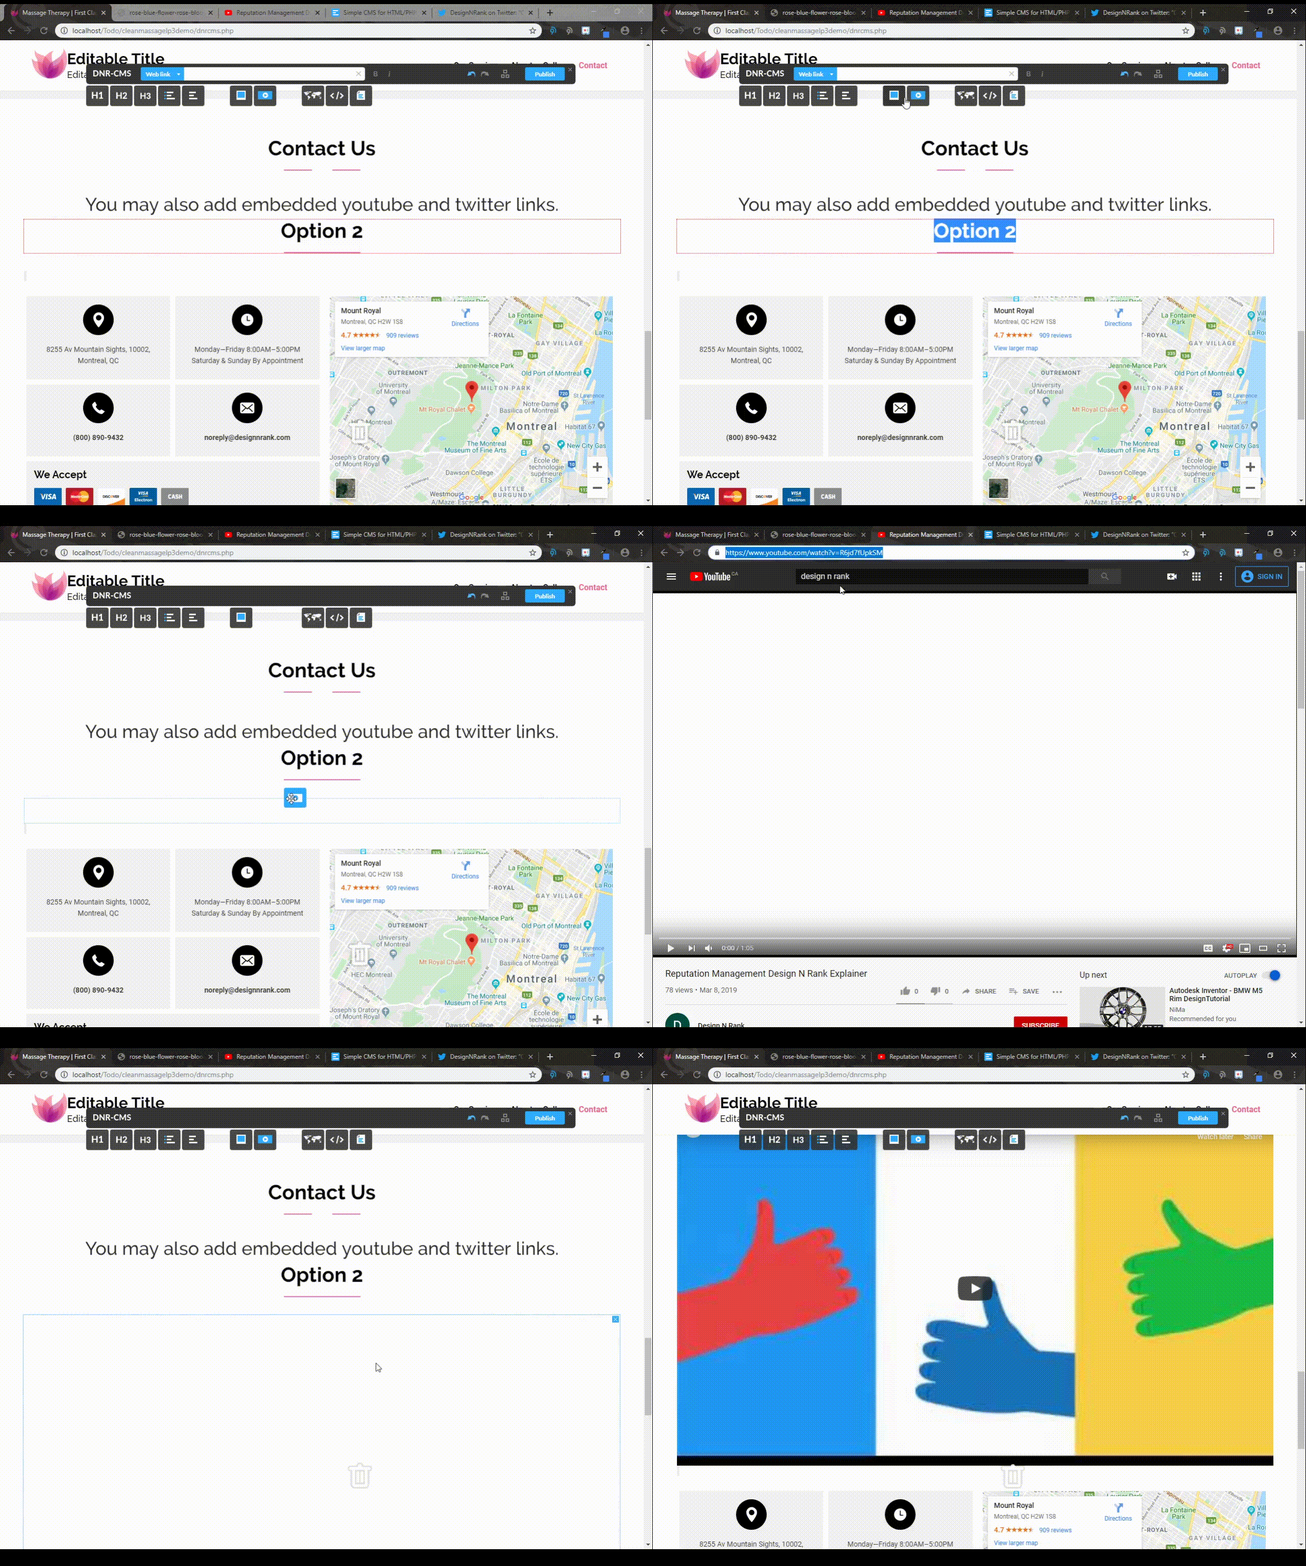
You may also add embedded Youtube videos or Twitter posts by simply dragging the URL onto the page.
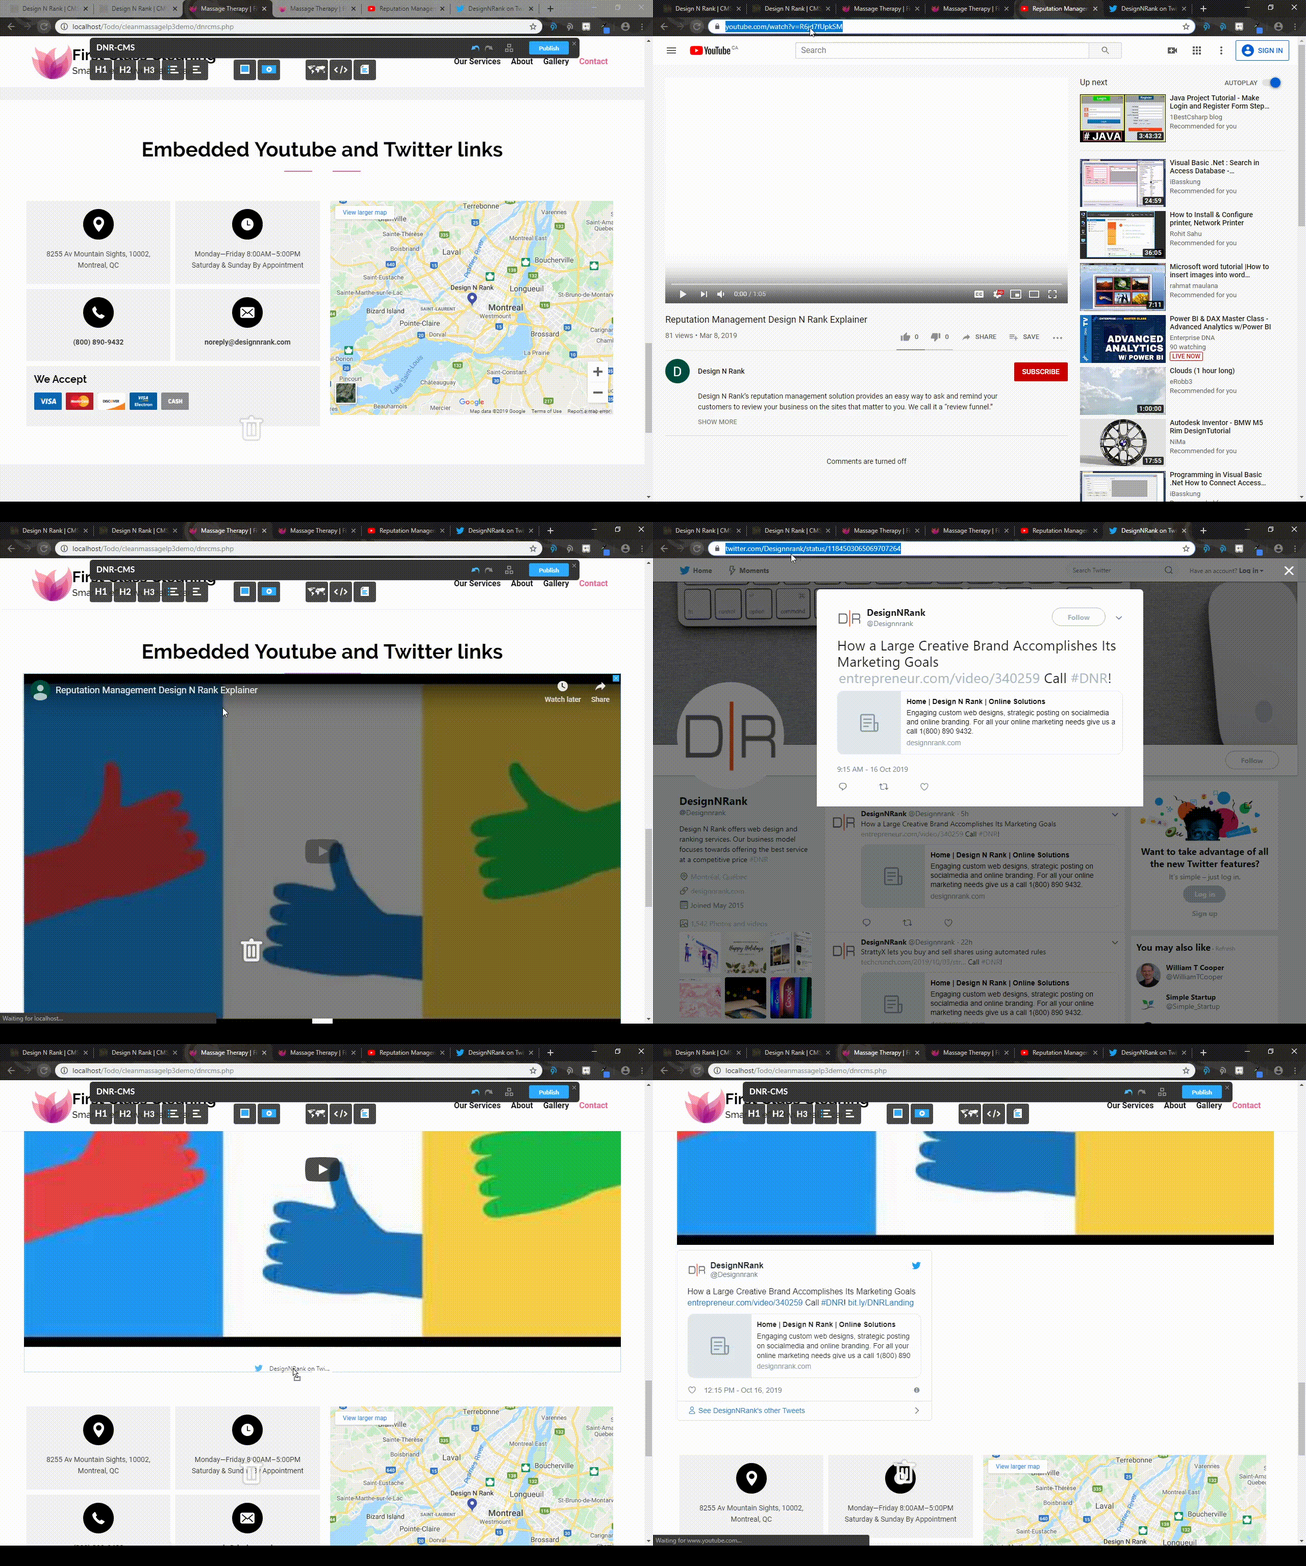
Alternatively, you can drag and drop a "Video" object from the DnRCMS interface and then paste the link.
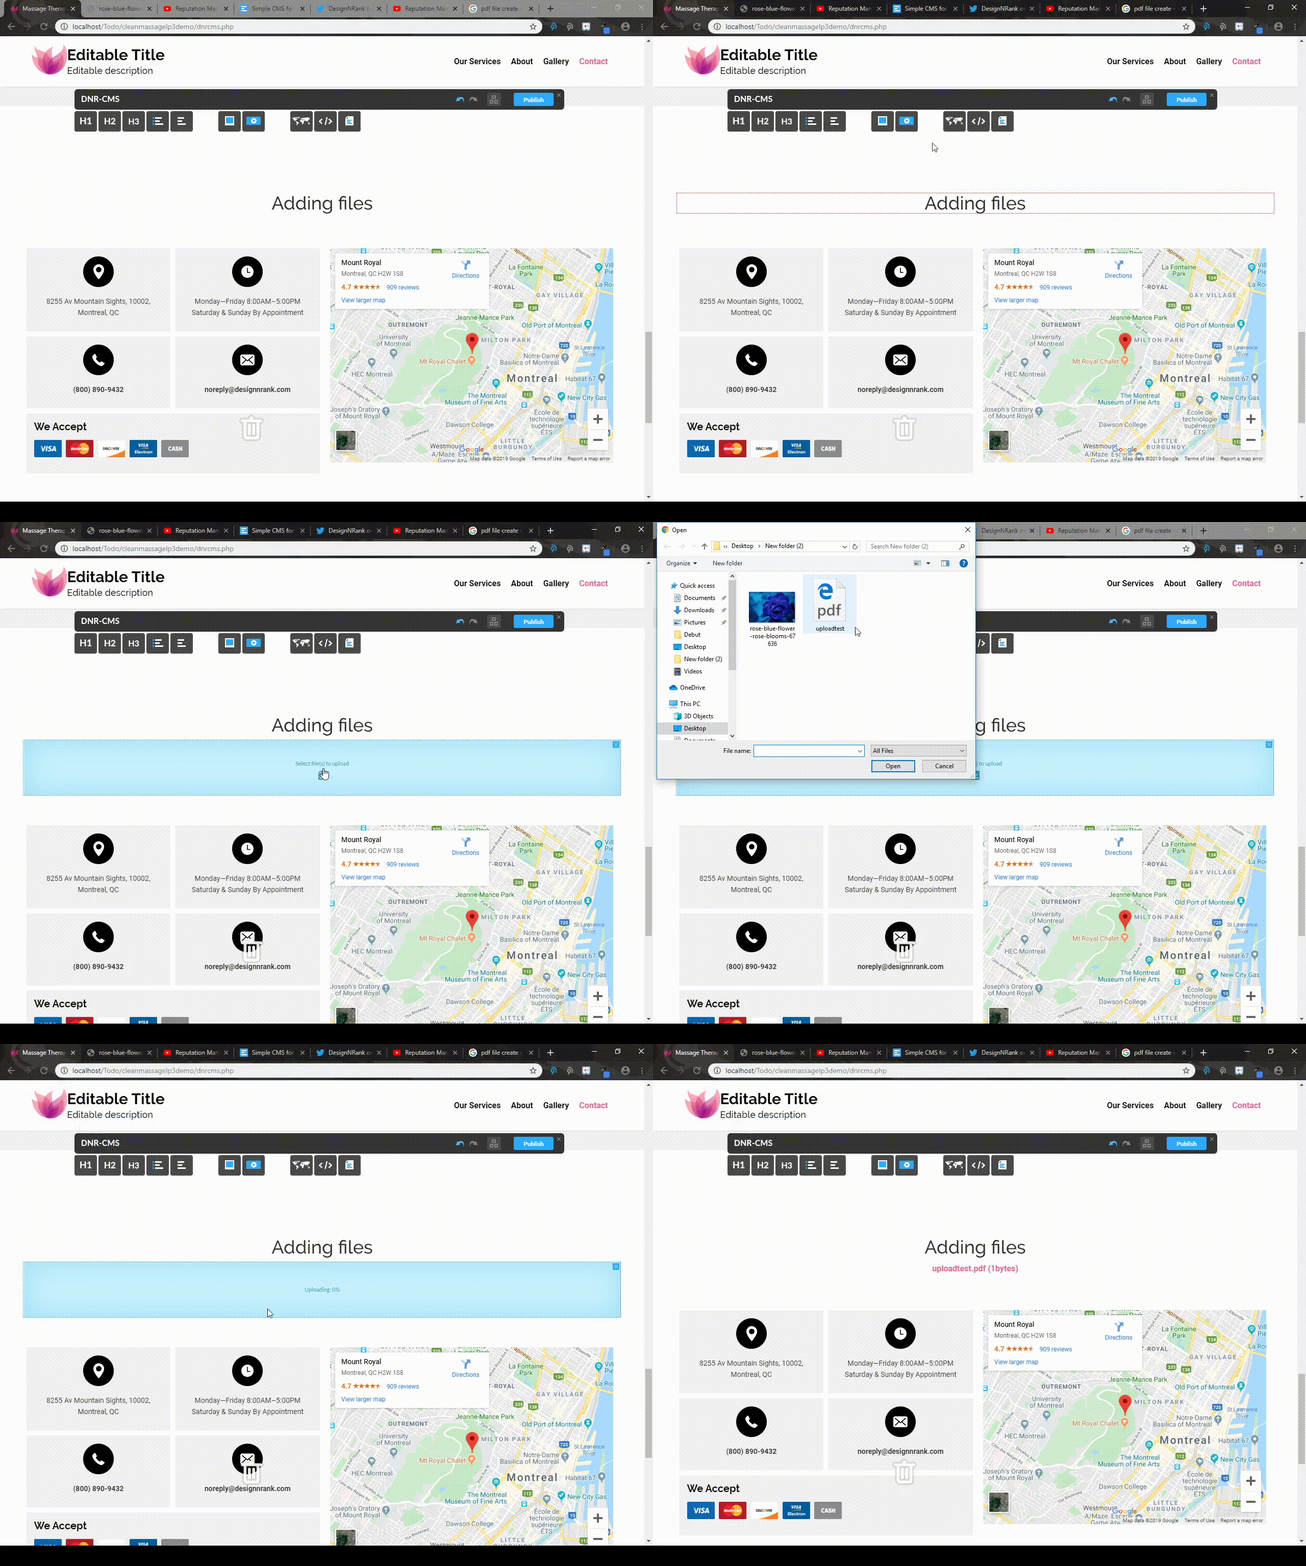
You can attach files to your website by dragging the "Upload File" object from the DnrCMS interface onto the page at the location you desire. Then simply left click the "Select a file" box and select your file.
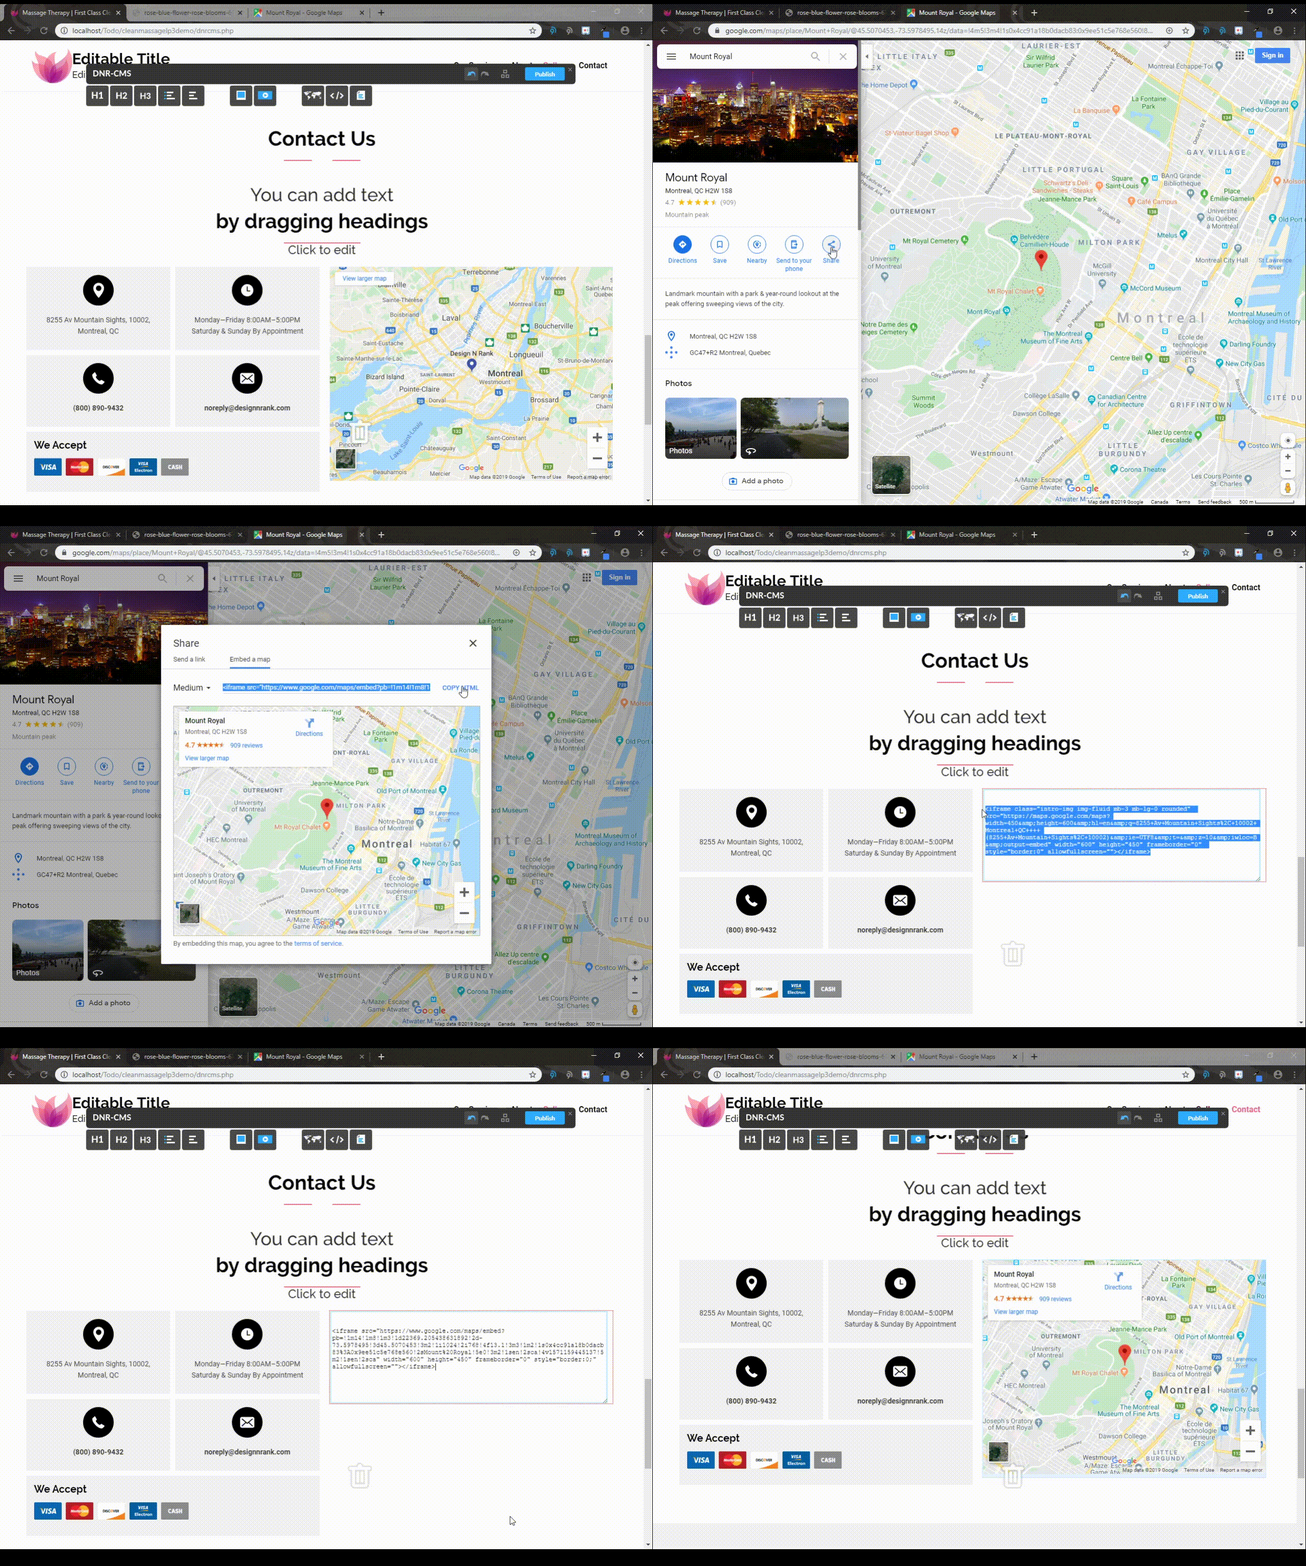
To add a Google Map with your location to your website, you can simply drag and drop a Map object from the DnrCMS interface onto your website, and then copy the google map URL and paste it as shown below.

As an alternative, you can change the location of the map by selecting the "Share" option on the google maps page of your location, then select the "Embed a Map" tab and select "Copy Link" and paste it in the Map object on your website.
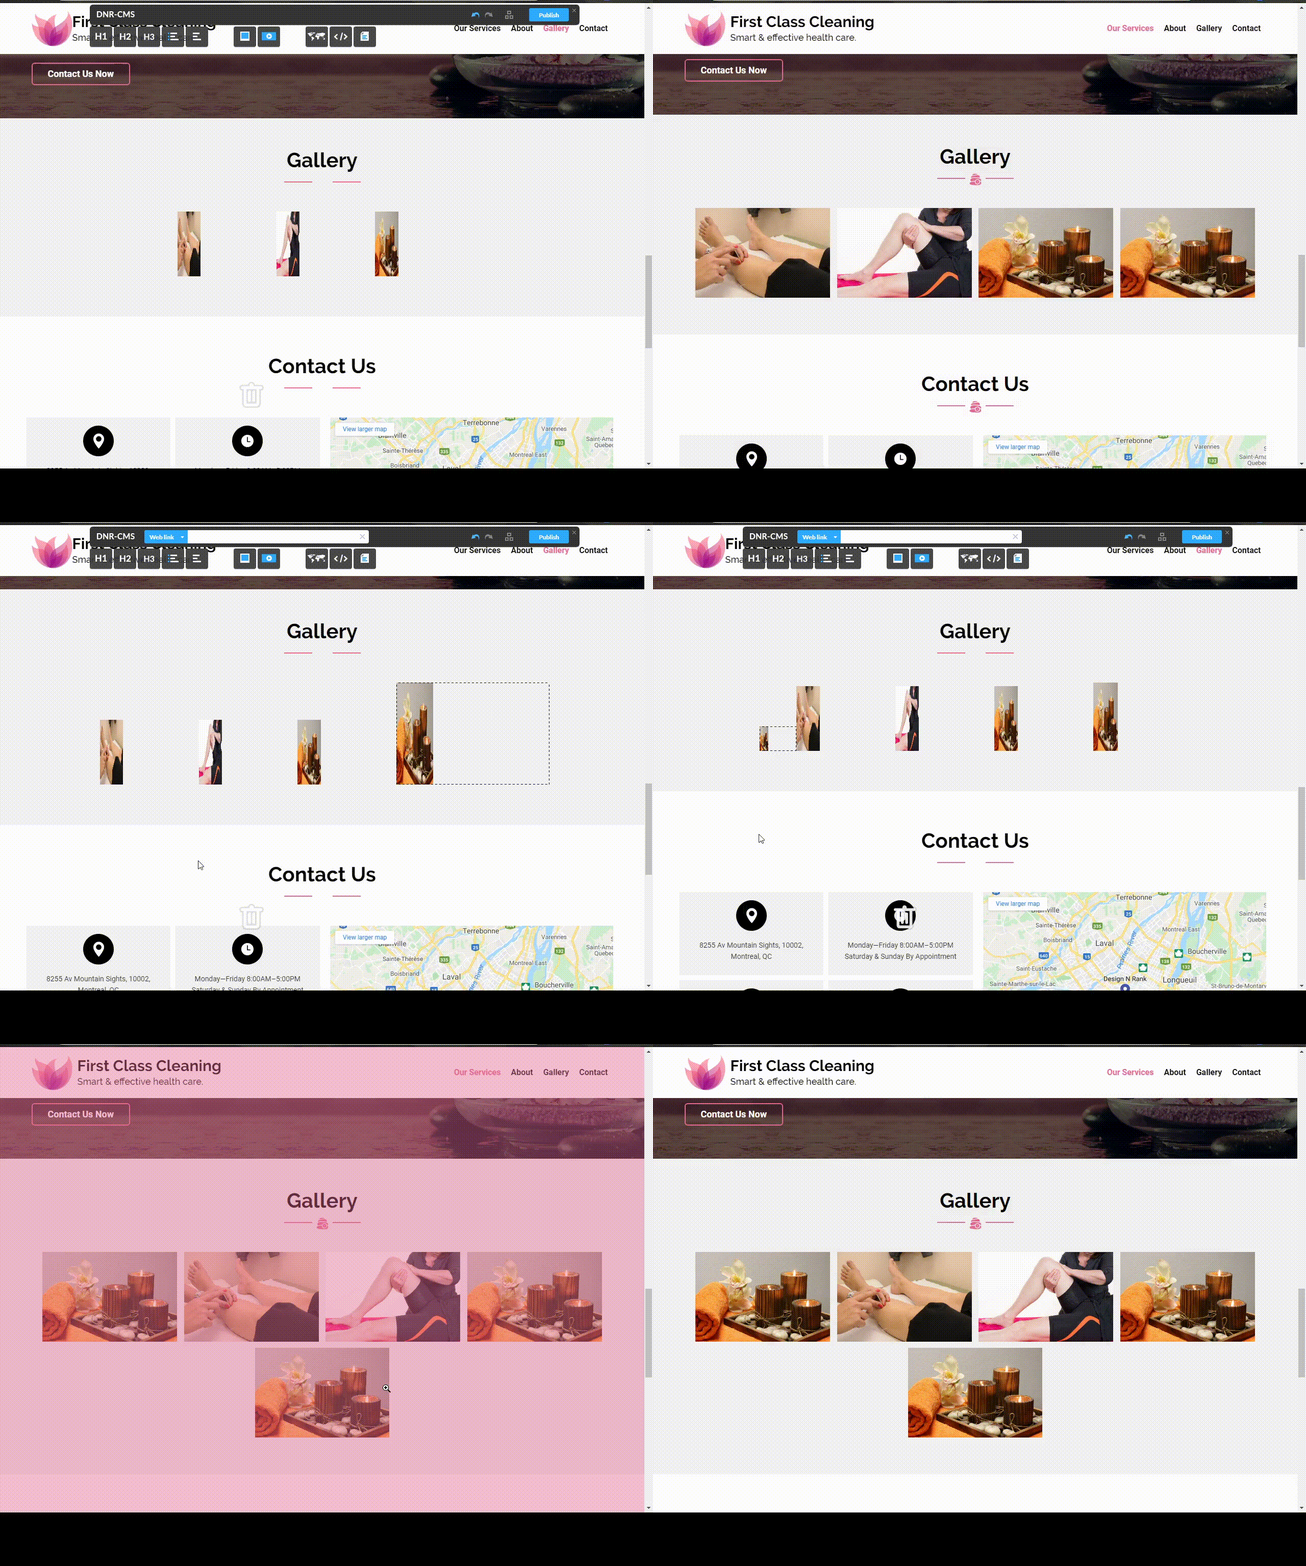
In order to add images to the gallery, you can use any of the three methods mentioned in the "Adding or deleting images to your websites" section of this page to drag an image to your gallery. If you want the image to be the first in the gallery, drag it on top of the rest, or drag it at the bottom if you want it to be the last image in the gallery as demonstrated in the video below. Or simply drag it before or after any image you would like, to order them to your liking.
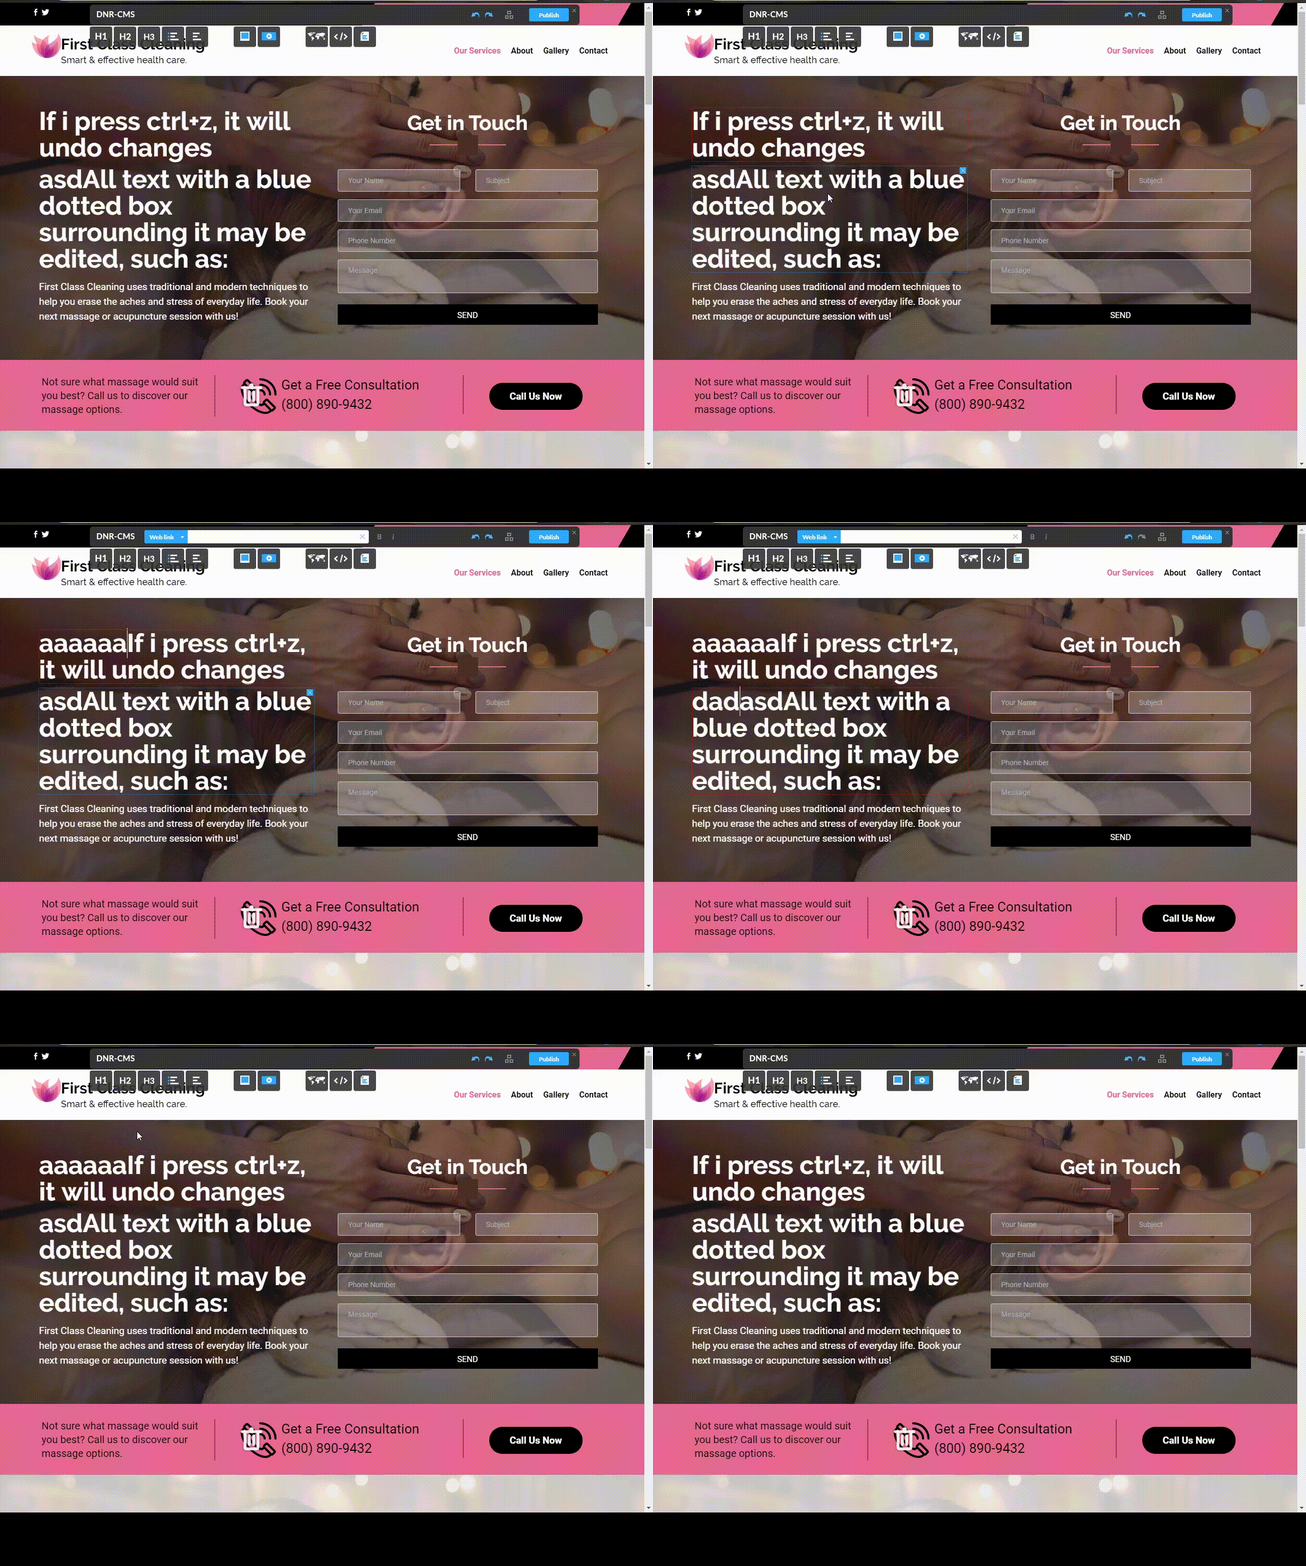
In order to revert changes, you must simply press CTRL and Z simultaneously. Each time you press this key combination, it will undo one change at the time. This will work both in edit mode, and out of edit mode. Pressing CTRL and Y simultaneously will re-do any changes you reverted with CTRL and Z.
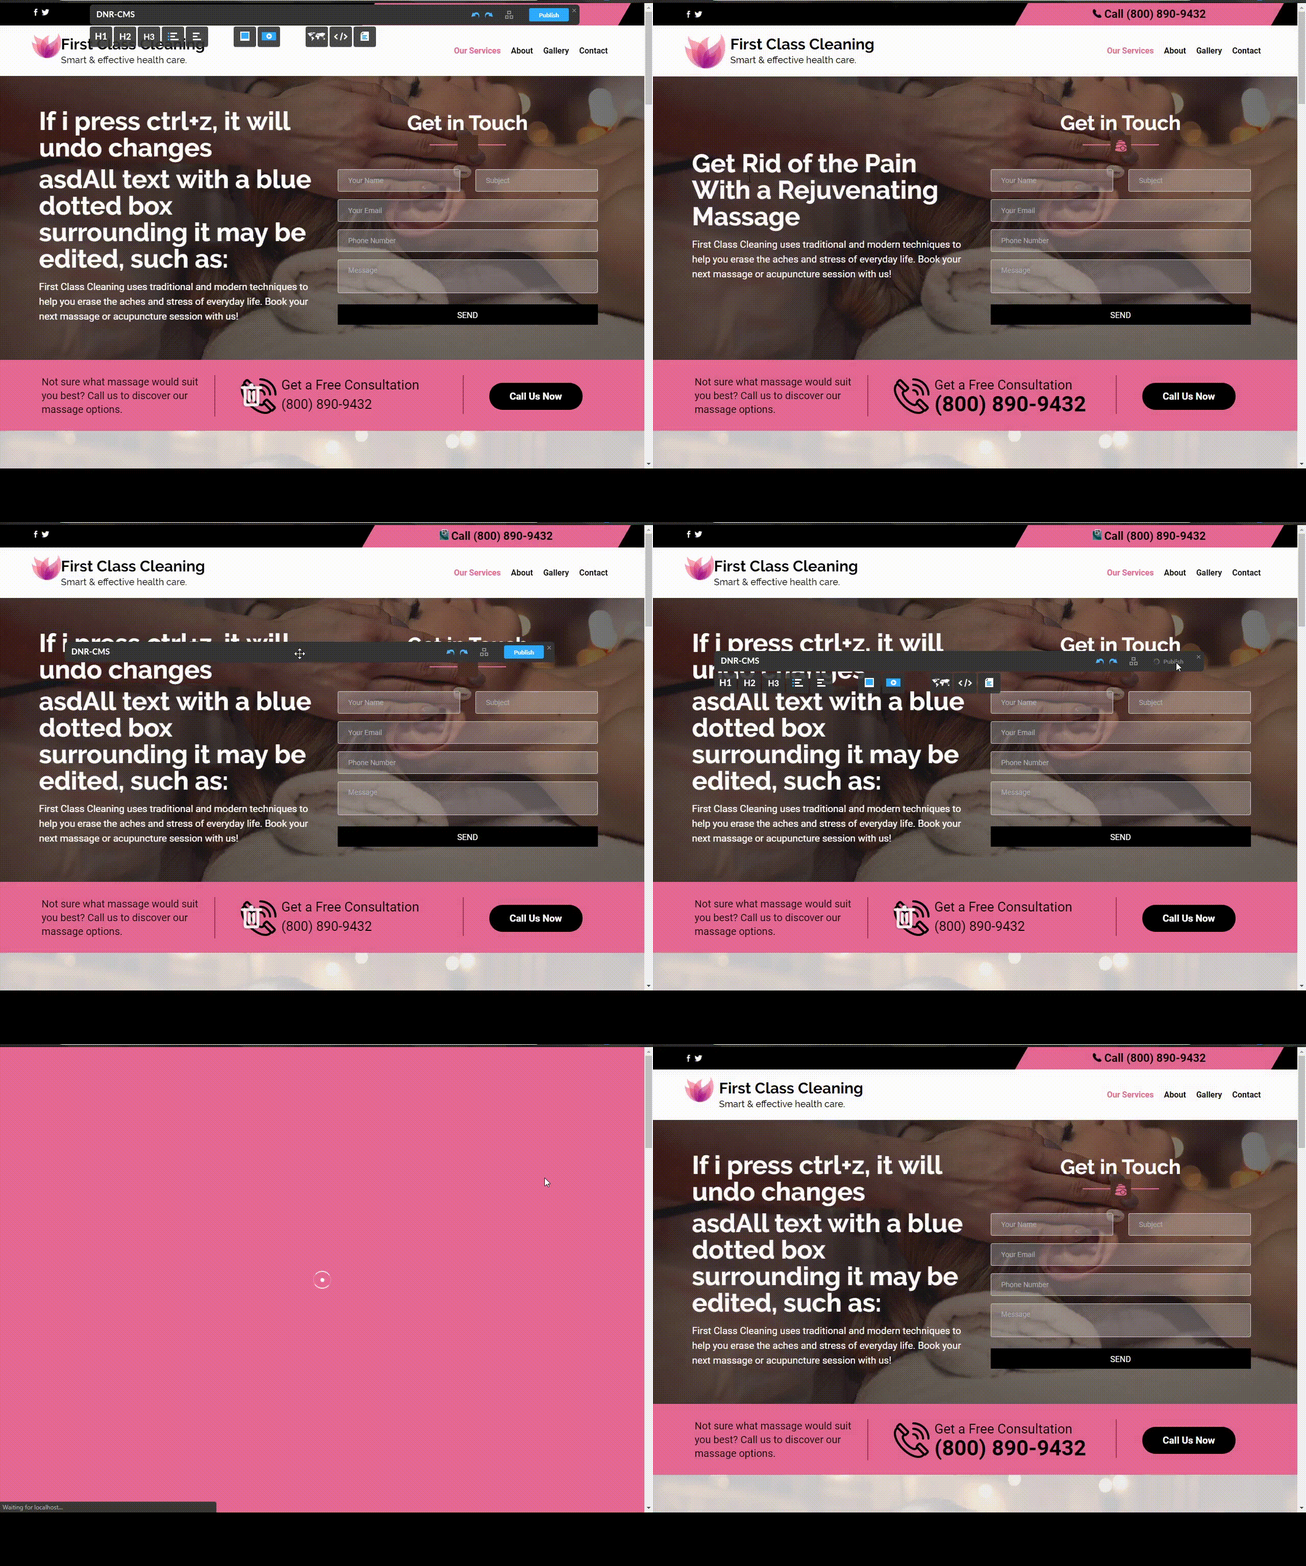
In order to publish all of your changes to your website, you must simply press the blue Publish button at the upper-right corner of the DnrCMS interface as shown in the demonstration below.
xInformation used and displayed is provided for information purposes only and does not constitute a legal contract between the websites admin and any person or entity unless otherwise specified. information is subject to change without prior notice. although every reasonable effort is made to present current and accurate information, design n rank inc makes no guarantees of any kind.
